
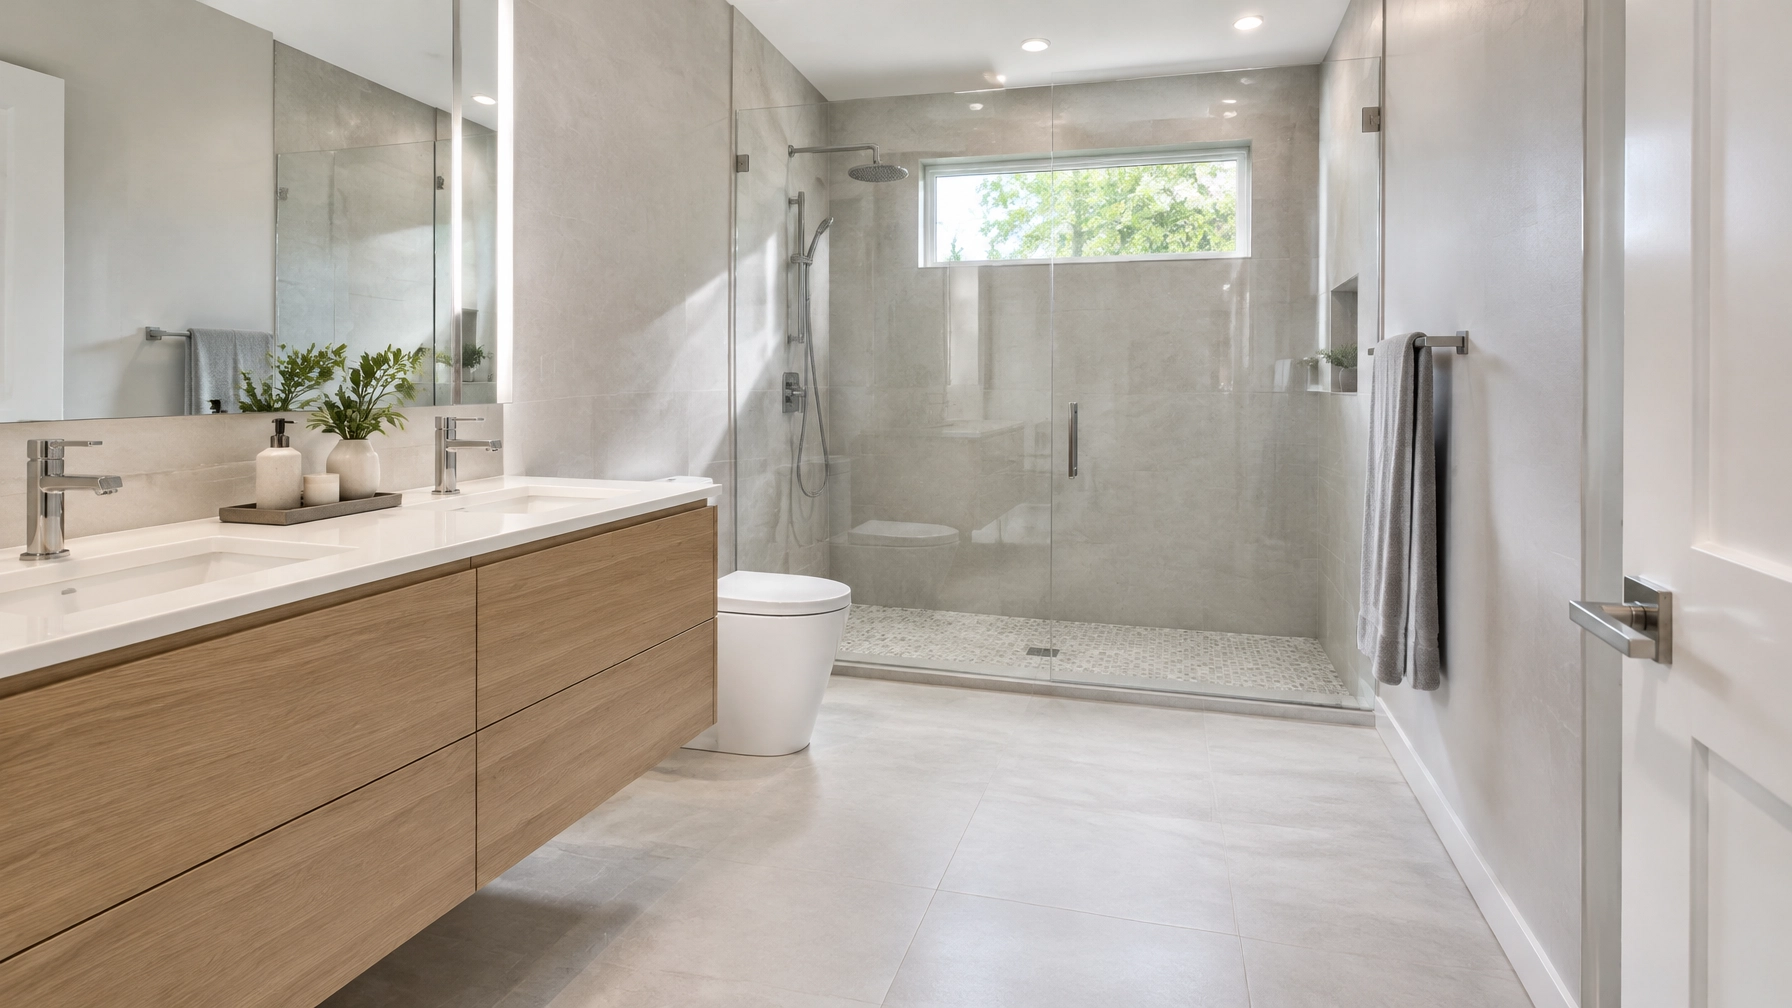
A bathroom can look finished on day one and still have problems hidden behind the tile. Water may work through weak transitions, poorly sealed penetrations, or an unstable substrate long after the grout has cured. That is why a successful bathroom tile installation is not just about choosing a tile pattern. It is about coordinating the substrate, waterproofing, drainage, setting materials, and finish details as one assembly.
For homeowners planning a renovation, the best place to start is with the room’s existing conditions, not a product catalog. Showcase Finishing Systems provides residential tile and flooring services, including bathroom and shower work. Our approach is to understand how the space is built and used, then plan the tile system around those conditions.
Start with the room beneath the tile
Bathrooms experience regular moisture, temperature changes, and daily use. Older homes may also have out-of-level floors, uneven framing, previous water damage, or layers of existing finishes that affect the new installation. These details can influence both the scope and sequence of the work.
Before choosing tile, consider:
- What is the substrate? The floor and walls need a sound, stable base suitable for the selected tile system.
- Is there evidence of moisture or damage? Staining, soft areas, loose tile, or musty odors warrant investigation before covering the surface.
- Is the floor flat and the shower properly sloped? Tile follows the surface beneath it; tile and grout do not correct poor geometry.
- Where will water go? Shower floors and other horizontal shower surfaces need to direct water toward a compatible drain.
- How will the room be used? A busy family bathroom, a guest bath, and a curbless shower have different practical requirements.
- What is the schedule? Preparation, waterproofing, setting materials, grout, and curing all affect return-to-service.
Slow down to answer these foundational questions before settling on a specific tile or membrane. A material can be high quality and still be the wrong fit if the substrate or details are not ready for it.
Waterproofing is behind the finish
Tile is water resistant, but a tiled shower is not automatically waterproof. Water can pass through grout joints and around openings, then reach materials behind the tile if the assembly is not designed to manage it. Grout is a finish material, not a substitute for a waterproofing layer.
A properly planned shower uses a continuous waterproofing approach over the specified backing and connects it to the drain. That continuity must account for more than the large, flat wall surfaces. Corners, wall-to-floor transitions, curbs, benches, niches, windows, plumbing valves, and shower arms all need compatible details.
Schluter-Systems’ shower system overview describes shower assemblies that bring waterproofing, drainage, and related components together. Depending on the project, a system may use a sheet membrane such as Schluter KERDI or a liquid-applied membrane such as MAPEI Mapelastic AquaDefense. These are different methods, not a reason to improvise between systems. The selected membrane, backing, drain, sealants, mortar, and tile must be suitable for one another, and installed according to their current manufacturer instructions and applicable local requirements.

During planning, homeowners should ask how the waterproofing will be carried through the shower, not simply whether “waterproofing” is included. Ask how seams and corners will be treated, how plumbing penetrations will be sealed, how the membrane will connect to the drain, and whether the assembly requires a flood test before tile conceals it.
Wall tile and floor tile have different demands
Bathroom tile choices should respond to use and location. Wall tile, shower-floor tile, and main-floor tile may coordinate visually, but they do not necessarily have the same functional requirements.
Wall tile gives homeowners broad choices in size, shape, color, and layout. Large-format tile can create a quieter visual field, but it needs a sufficiently flat backing and careful layout. Smaller formats can simplify work around curves and niches, though they create more grout joints to maintain. Either way, cuts, edges, and transitions should be planned before setting begins.
Shower-floor tile must work with the slope to the drain. Smaller tiles often accommodate changes in plane more readily, while the tile’s surface and grout-joint layout can affect underfoot feel and cleanability. The right selection depends on the shower design, drain placement, and the system manufacturer’s requirements, not on appearance alone.
Bathroom floor tile should be considered alongside the substrate, transitions to adjacent rooms, and household cleaning habits. Where the floor is exposed to regular splashes, water management at the perimeter and around fixtures deserves attention as well.
A well-coordinated design can use the same palette across these zones without assuming that every tile belongs in every location.
Why preparation matters more than a quick start
Preparation is where many long-term performance issues are either prevented or locked in. A new tile surface cannot reliably compensate for loose backing, movement, an uneven floor, or unresolved moisture. Covering those conditions may make the room look complete on day one; after turnover, they can show up as cracked grout, loose tiles, water intrusion, or visible lippage.
A sound installation sequence generally includes:
- Inspect and remove unsuitable materials. Existing finishes and damaged or unstable materials may need to come out so the substrate can be assessed.
- Correct the substrate. The surface must be appropriate for tile, clean, stable, and flat enough for the tile format. Structural issues and moisture concerns should be addressed before proceeding.
- Plan the layout and drainage. Tile orientation, starting points, cuts, niches, transitions, and drain details should be coordinated rather than decided in isolation.
- Install the waterproofing assembly. The membrane and all its connections are installed as a continuous system, following the manufacturer’s instructions.
- Allow required testing and cure time. Where specified, waterproofing is inspected or flood-tested before being covered. Setting and grouting follow the system’s required timing.
- Set tile and finish details. Appropriate mortar, tile coverage, grout, movement joints, and flexible sealant at changes of plane help complete the assembly.

Schluter-Systems materials can support integrated shower assemblies, including membranes, drains, prefabricated shower components, and edge profiles. MAPEI provides tile mortars, grouts, waterproofing, and surface-preparation materials. These established product lines offer options for different conditions; they do not eliminate the need to verify compatibility or follow system-specific instructions. Showcase Finishing Systems works with premium suppliers such as Schluter-Systems and MAPEI and evaluates the materials as part of the installation plan.
For more on our approach to home tile work, see Residential Tile Installation and Tile Flooring.
Common mistakes to avoid
- Treating grout as waterproofing. Grout joints are not the waterproofing layer; the assembly behind the tile must manage water.
- Waterproofing only the obvious flat areas. Corners, openings, benches, niches, and drain connections require careful detailing.
- Tiling over movement or damage. A finish does not stabilize a weak floor or wall.
- Using a flat shower floor. Standing water is a sign that drainage and slope need attention.
- Mixing products without checking compatibility. A collection of good products is not automatically a tested system.
- Rushing the sequence. Skipping cure time, inspections, or required testing may save time at first but creates risk after the bathroom is back in use.
Care after the renovation
Long-term ownership begins when the bathroom returns to service. Follow the care guidance for the selected tile, grout, sealants, and fixtures. Use cleaners that are appropriate for the surface; harsh or unsuitable products can affect grout, stone, finishes, or sealers. Keep an eye on flexible sealant at corners and around fixtures, and address gaps or damage rather than waiting for them to worsen.
Good ventilation and routine drying help limit persistent surface moisture. Maintenance does not replace waterproofing, but it supports the finished room and makes developing issues easier to notice.

Choose the assembly before the accent tile
The best bathroom tile installation is a conversation about fit: the age and condition of the home, the substrate, moisture exposure, drainage, chosen tile, and the renovation schedule all matter. On day one, the visible finish gets the attention. After turnover, the quality of the preparation and concealed waterproofing details matter just as much.
Showcase Finishing Systems works with homeowners to plan residential tile and flooring around the actual conditions of the space, with attention to preparation, compatible materials, and clean finish details. To discuss a bathroom or residential flooring project, contact Showcase Finishing Systems.
Technical references: Review the Tile Council of North America’s shower guidance, the Schluter Shower System Installation Handbook, and MAPEI’s installation guide for Mapelastic AquaDefense. Always confirm current product instructions and local requirements for the specific project.